
One of the most efficient ways to get the most out of your crypto assets is to bridge them to a Layer 2 (L2) network. Doing so provides lower transaction fees, higher throughput, better user experience, and sometimes access to dapps not on Mainnet. In this blog we focus on a popular L2 solution, Optimistic Ethereum. You’ll learn how to send your assets to the Optimistic Ethereum bridge and trade with low fees and near-instant finality on Uniswap, a decentralized token exchange.
In a previous blog about how to bridge your assets to Polygon using MetaMask, we introduced the blockchain scalability trilemma. This trilemma has become a classic throughout the blockchain industry, since it so effectively captures the three fundamental obstacles blockchain networks must solve for optimal functionality: scalability, security, and decentralization.

Source: Bankless
Layer 2 networks, also referred to as bridging solutions, were created to overcome these obstacles and have been extremely effective to sustain growth of the Ethereum ecosystem in spite of barriers like gas fees.
Introducing Optimistic Ethereum
Like other L2 solutions, the Optimism team saw an opportunity to be a new scaling solution for Ethereum without compromising security and decentralization as shown in the trilemma. Optimistic Ethereum is an EVM compatible rollup chain designed to be fast, simple, and secure, and allows users to interact with any Ethereum application at a fraction of the cost by using optimistic rollups.
You can think of optimistic rollups as a smart contract that bundles (or “rolls up”) transaction data and moves it off chain for faster processing. Optimistic rollups are distinct from zero knowledge (ZK) rollups, because they use a different method of verification: while ZK rollups rely on each batch of transactions to have their own ‘validity proof,’ optimistic rollups assume all transactions are valid.
Pretty handy, right? Ready to give optimistic rollups a try?
Here’s how.
Connecting your MetaMask to the Optimism L2 Network
First things first: make sure your funds are available in your wallet. MetaMask is your portal to Web3 that you can use directly in your browser extension.
Always practice strong security with your seed phrase by ensuring its stored safely in multiple places and never (ever) give it to anyone.
Once that’s done, you can manually add the Optimistic Ethereum network to your wallet in three simple steps:
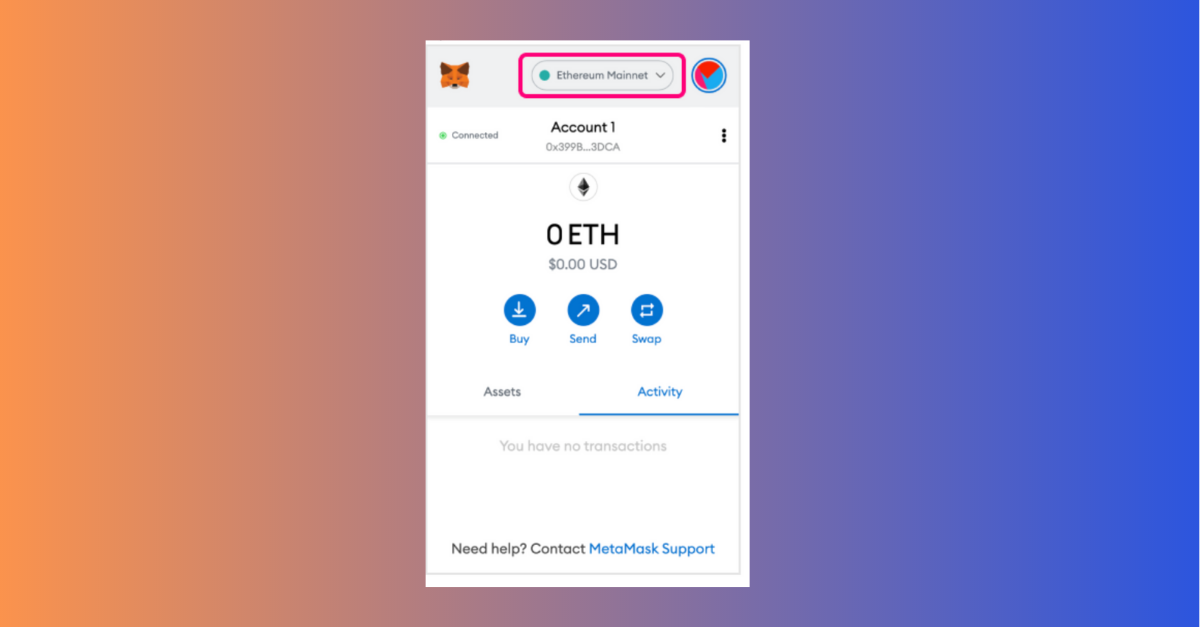
Open the MetaMask browser extension, then select the network name at the top:
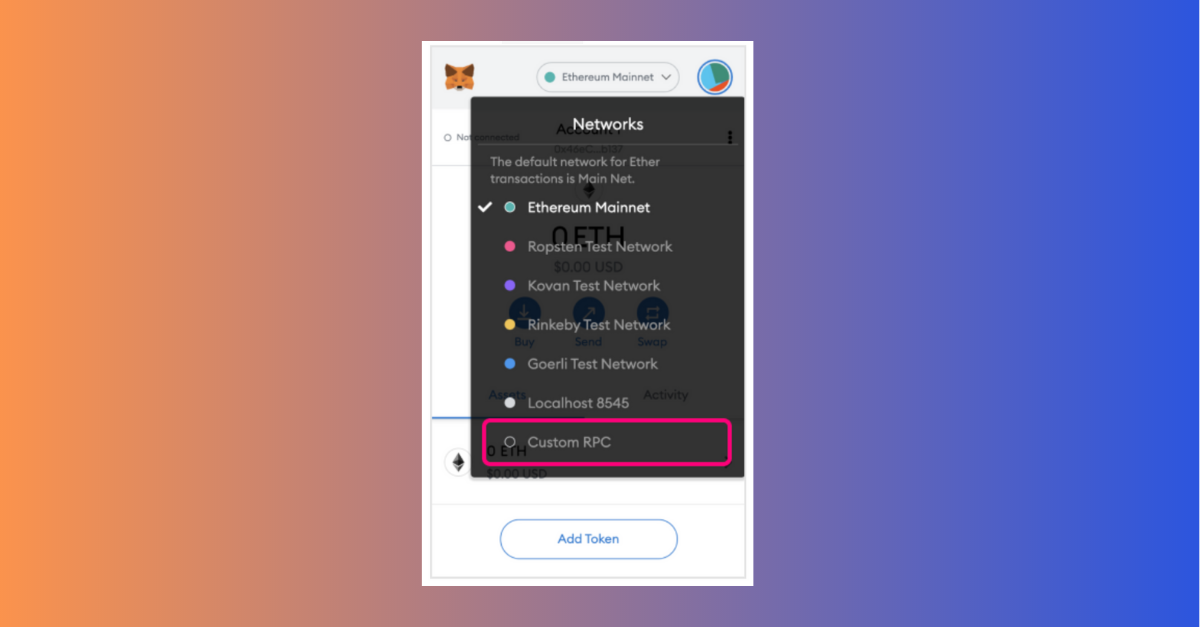
Next, click the Custom RPC button at the bottom of the network list:
Now input the Optimistic Ethereum network connection details here and shown below:
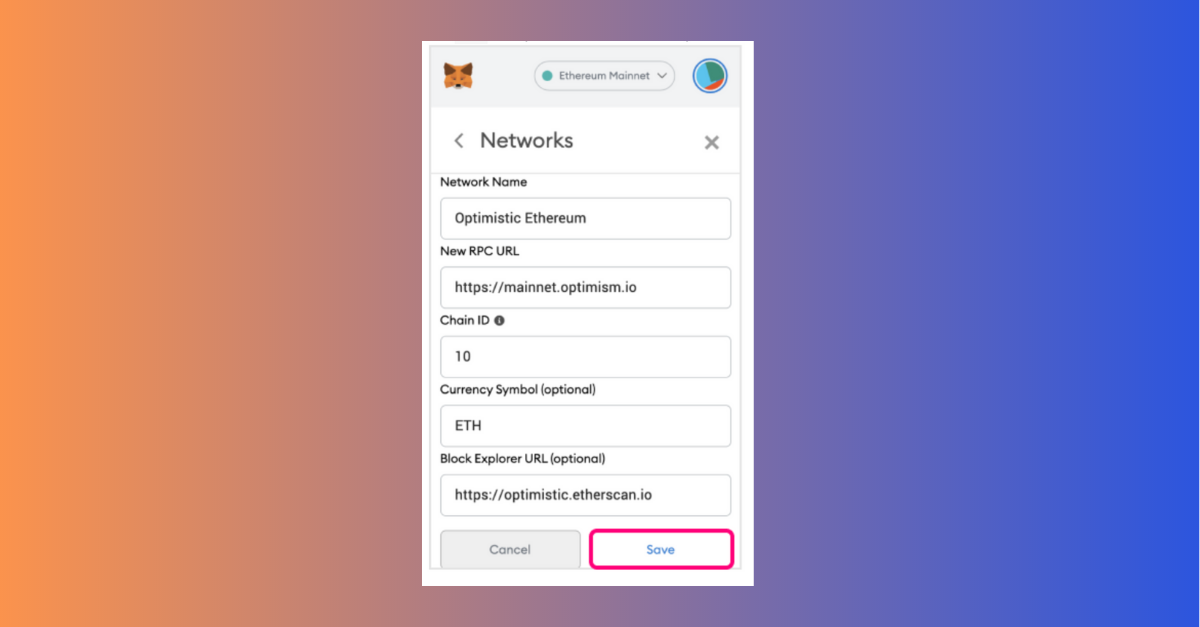
Once you hit save, you'll be automatically connected to the network and ready to bridge your assets! You can find the many different dapps and protocols on Optimism here.
And to see how Optimism works in action, these next sections will show you how to bridge and then how to use optimistic rollups on Uniswap.
Bridging your assets to Optimism
Now that your MetaMask is connected to the Optimism network, let’s send some ETH over. These are the steps required:
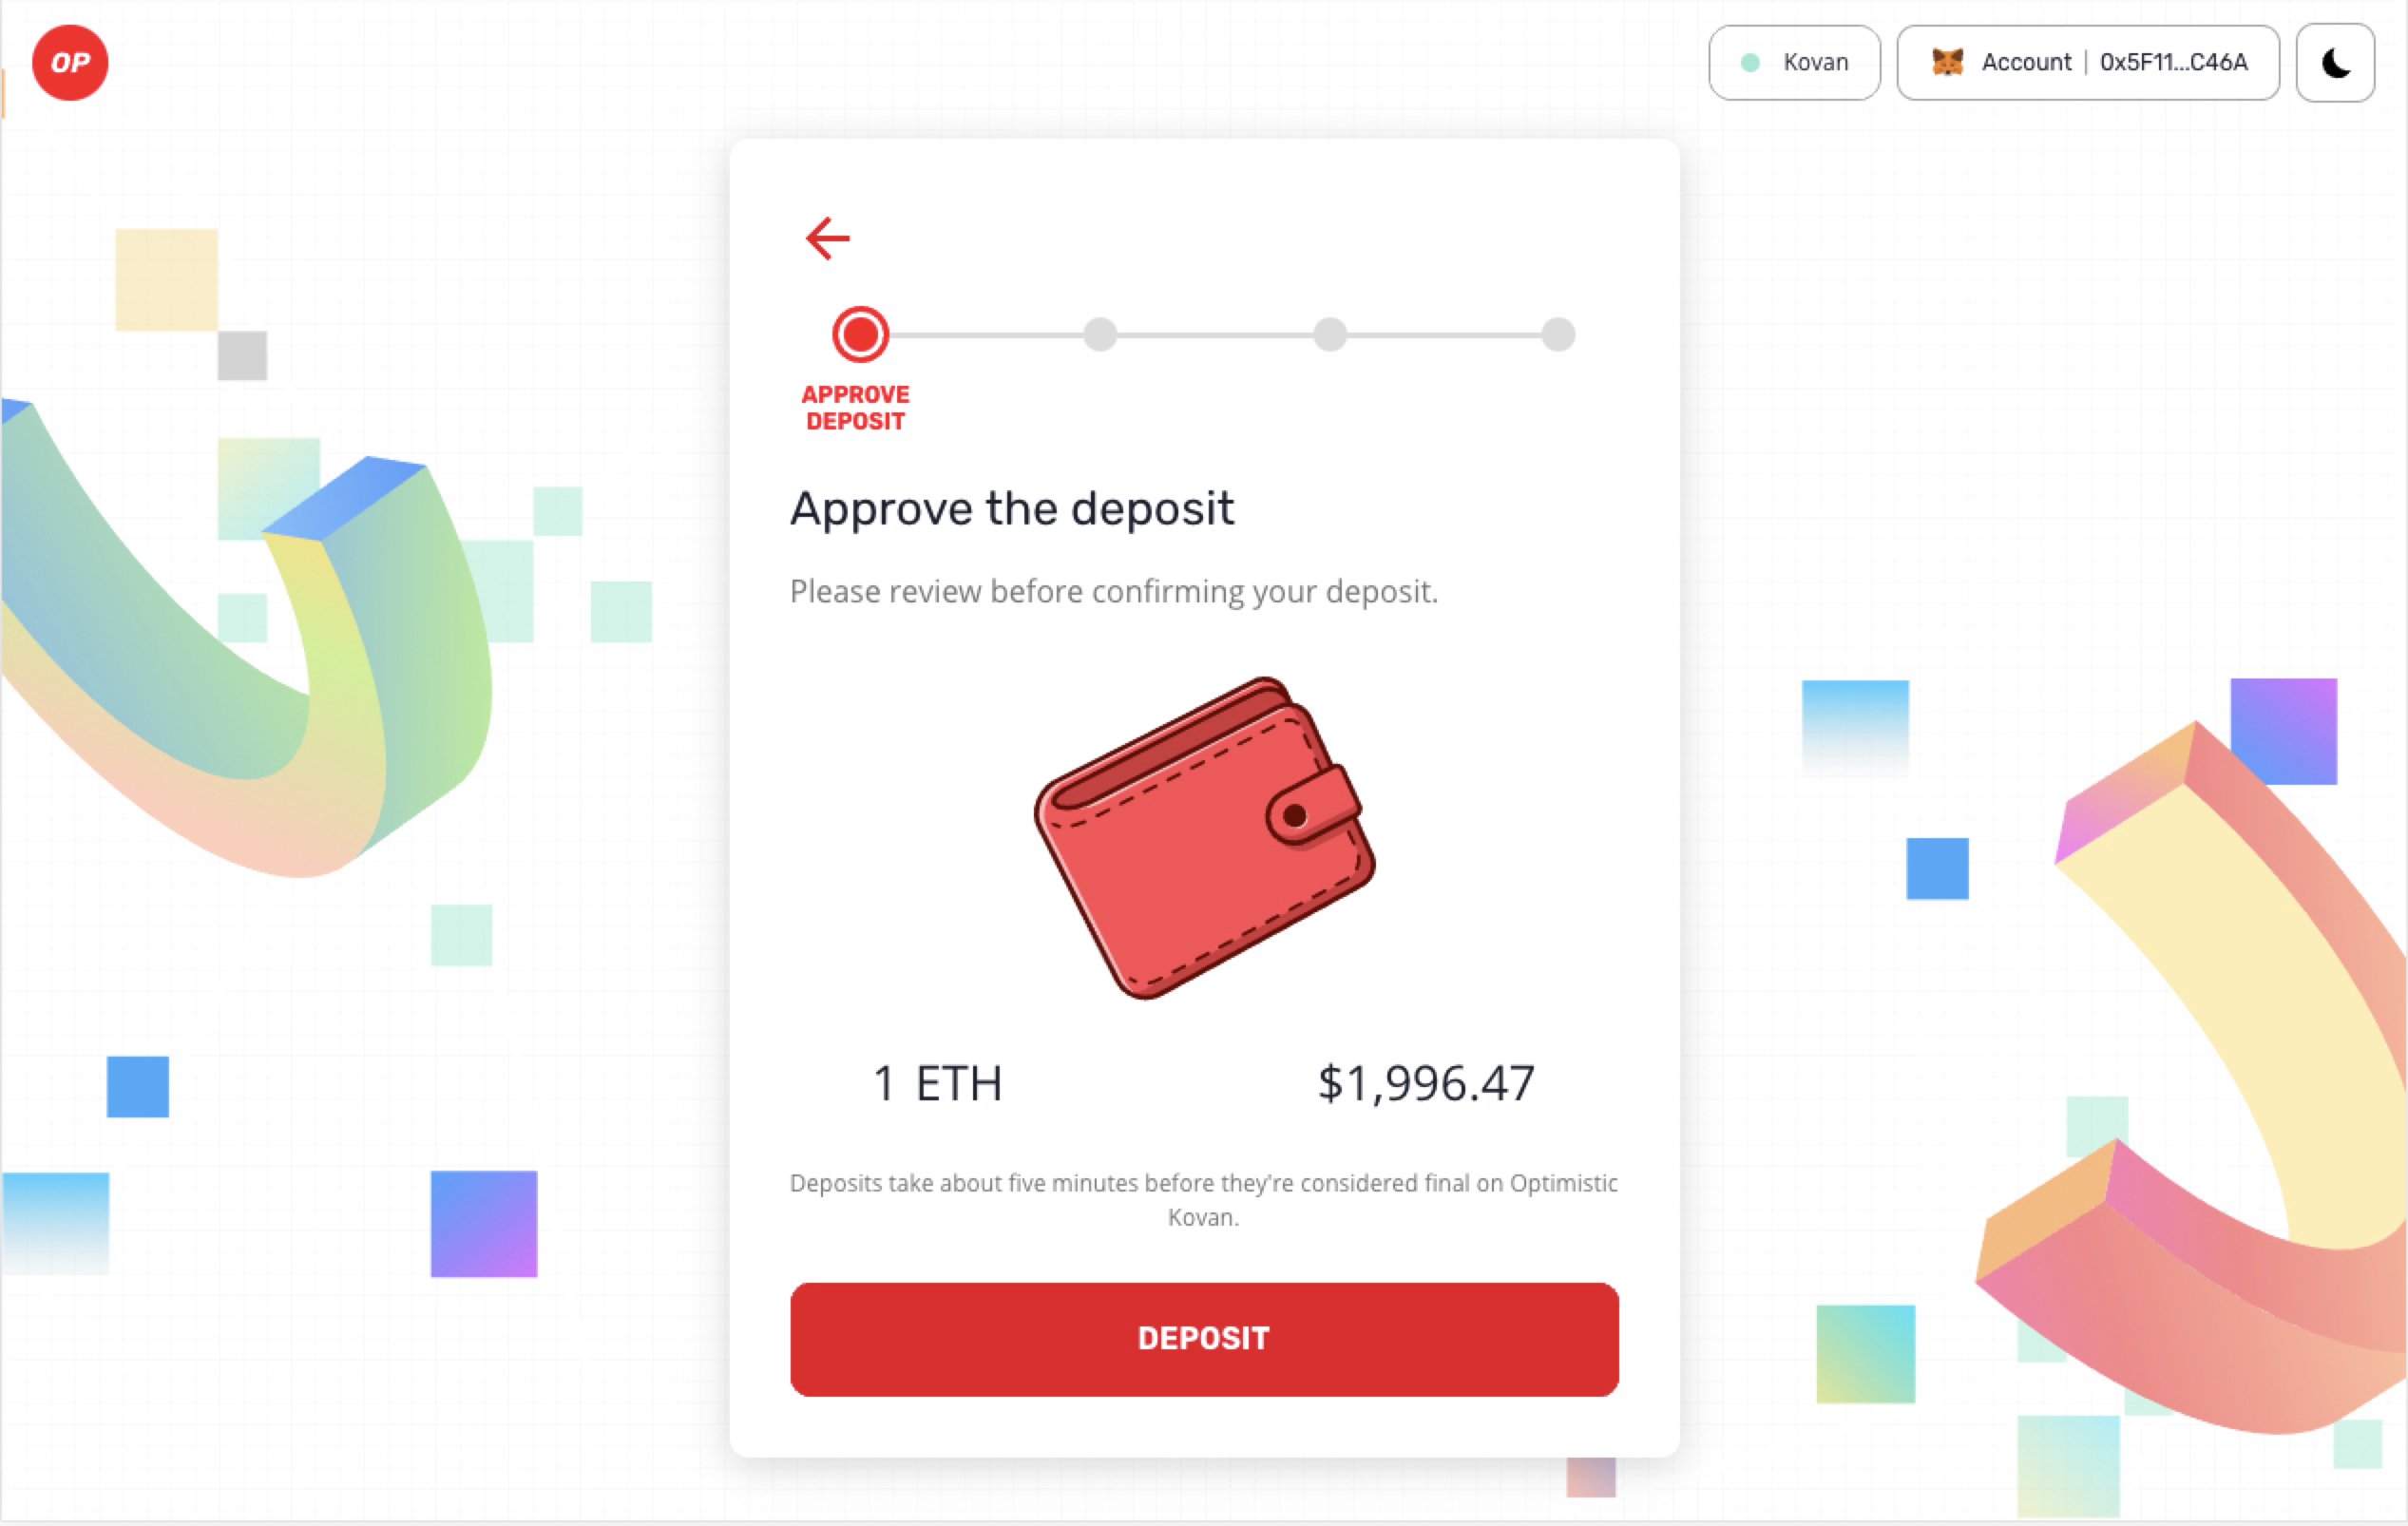
Go to the Optimism gateway and choose the amount of ETH (or the asset of your choice that’s available) as you’d like:

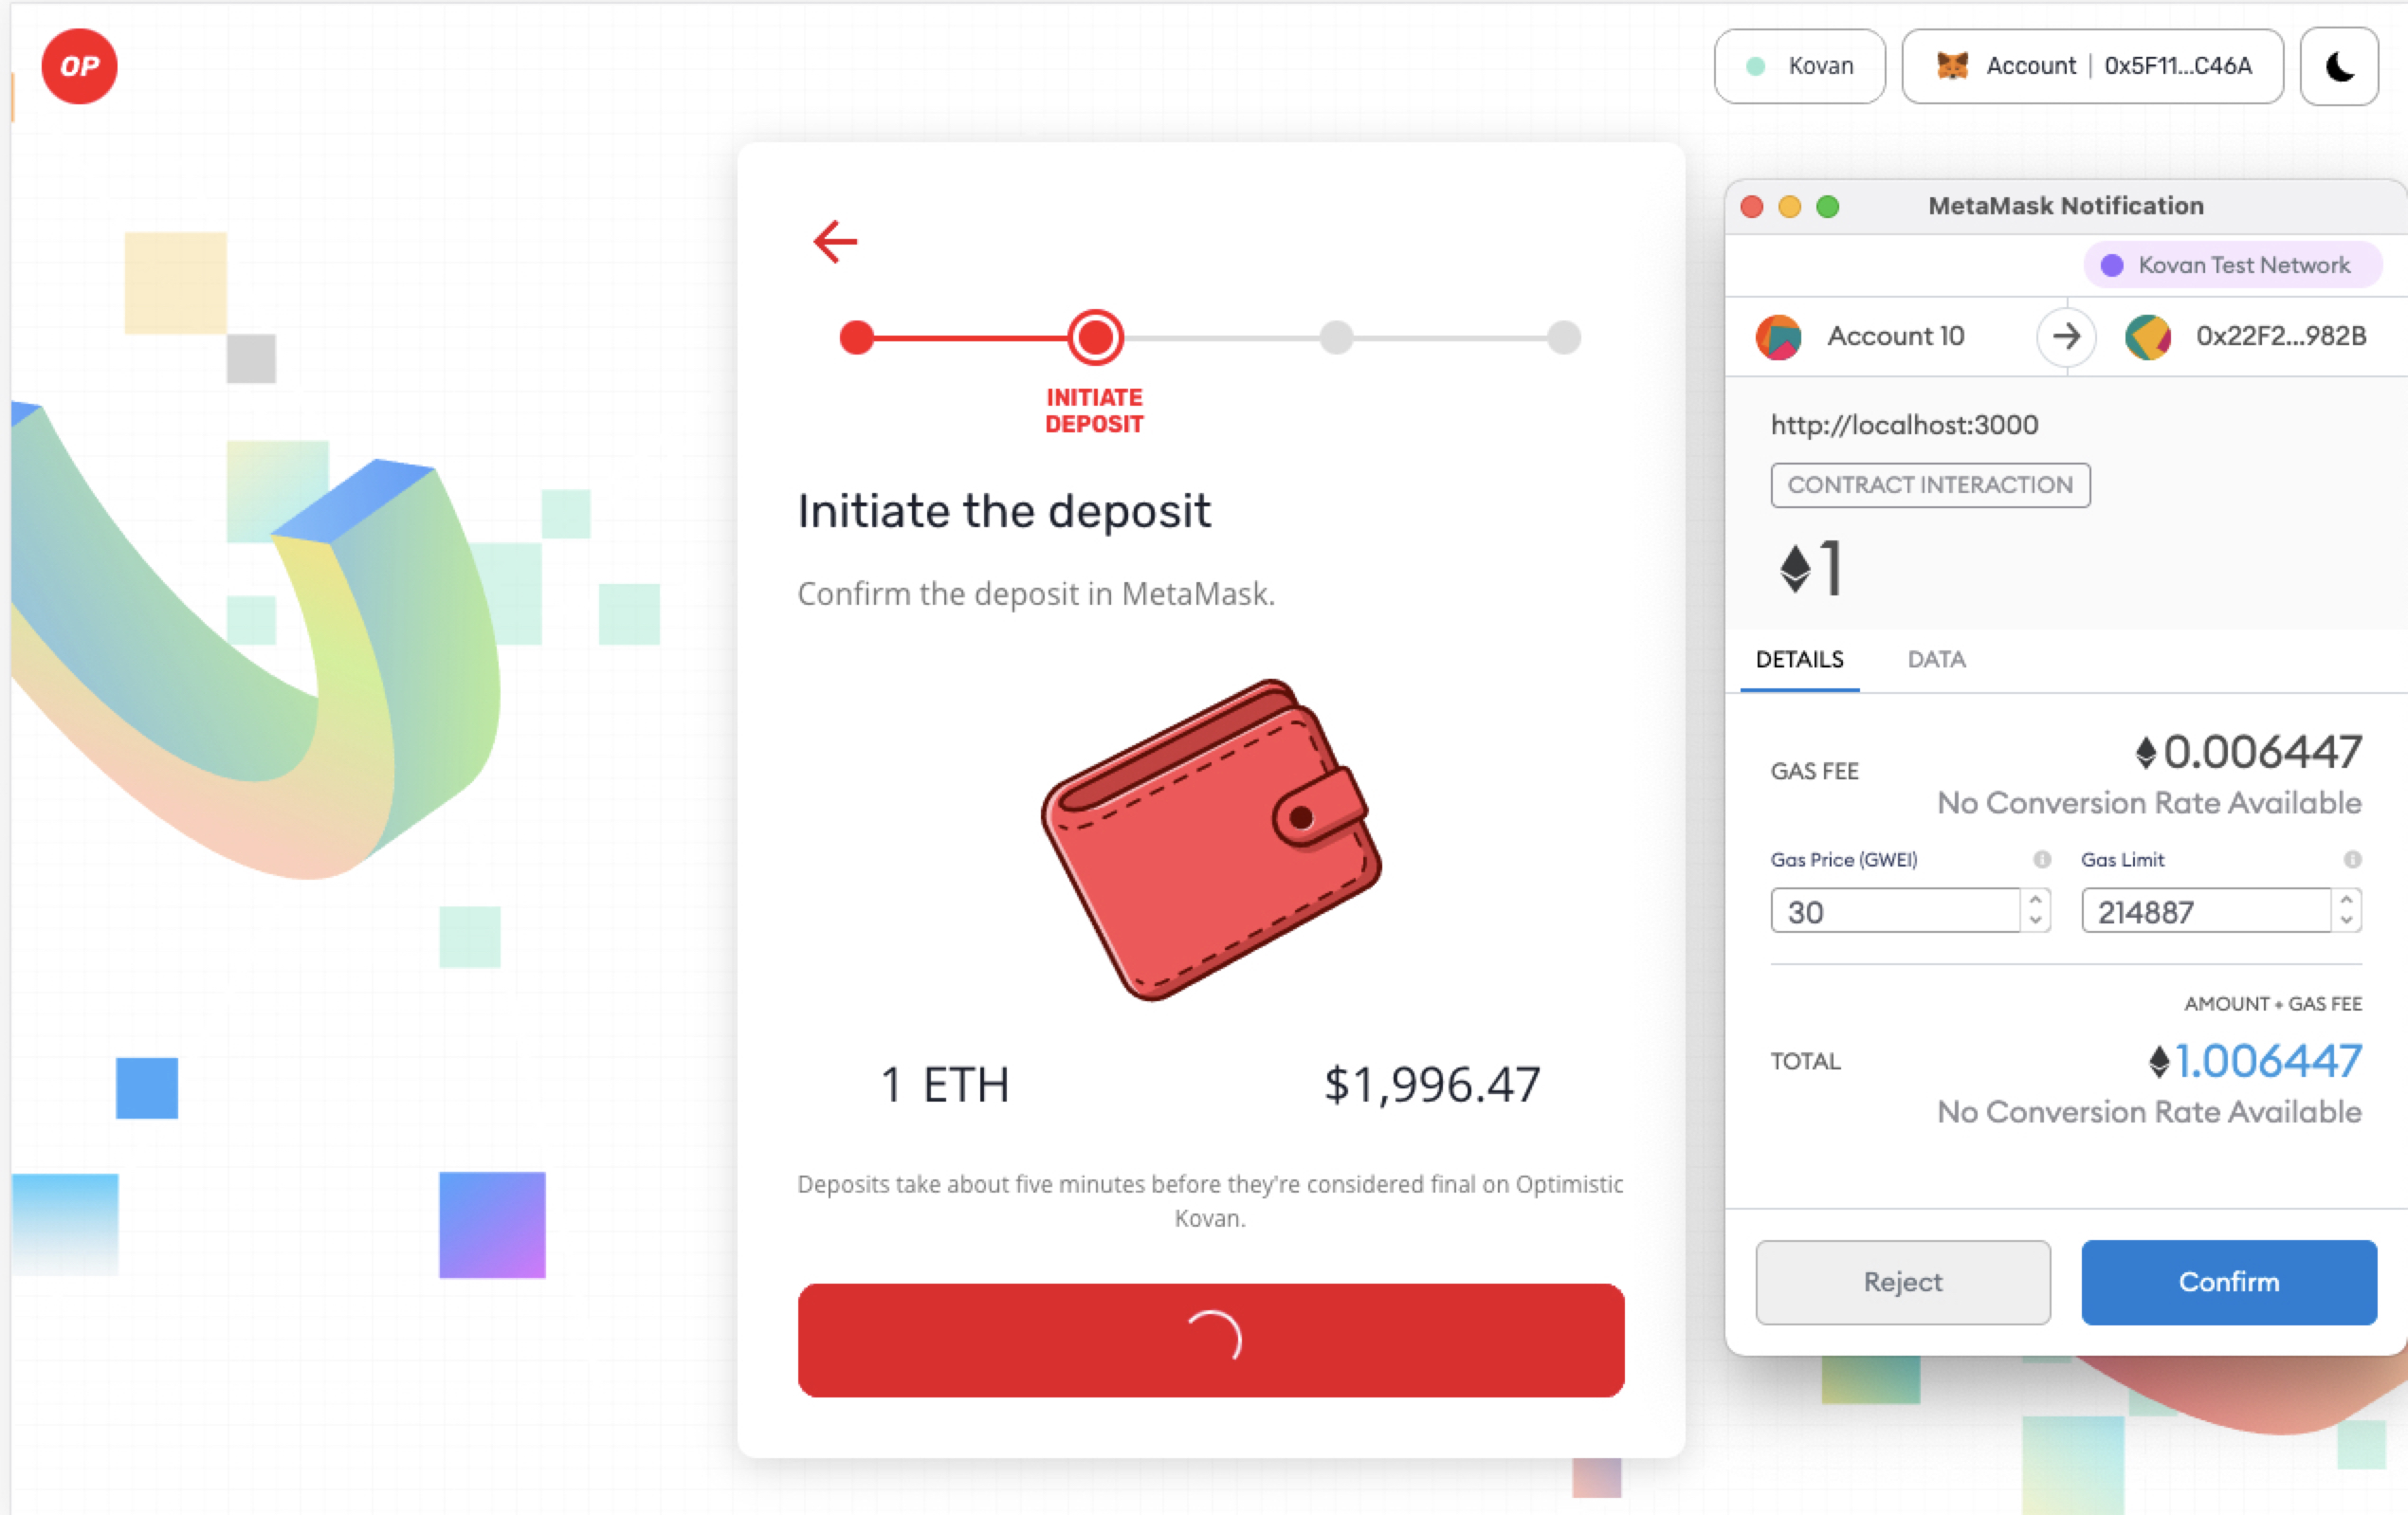
Click “Deposit” when you’re ready. Then a MetaMask prompt to confirm and start the bridging process will appear. Click “Confirm”.
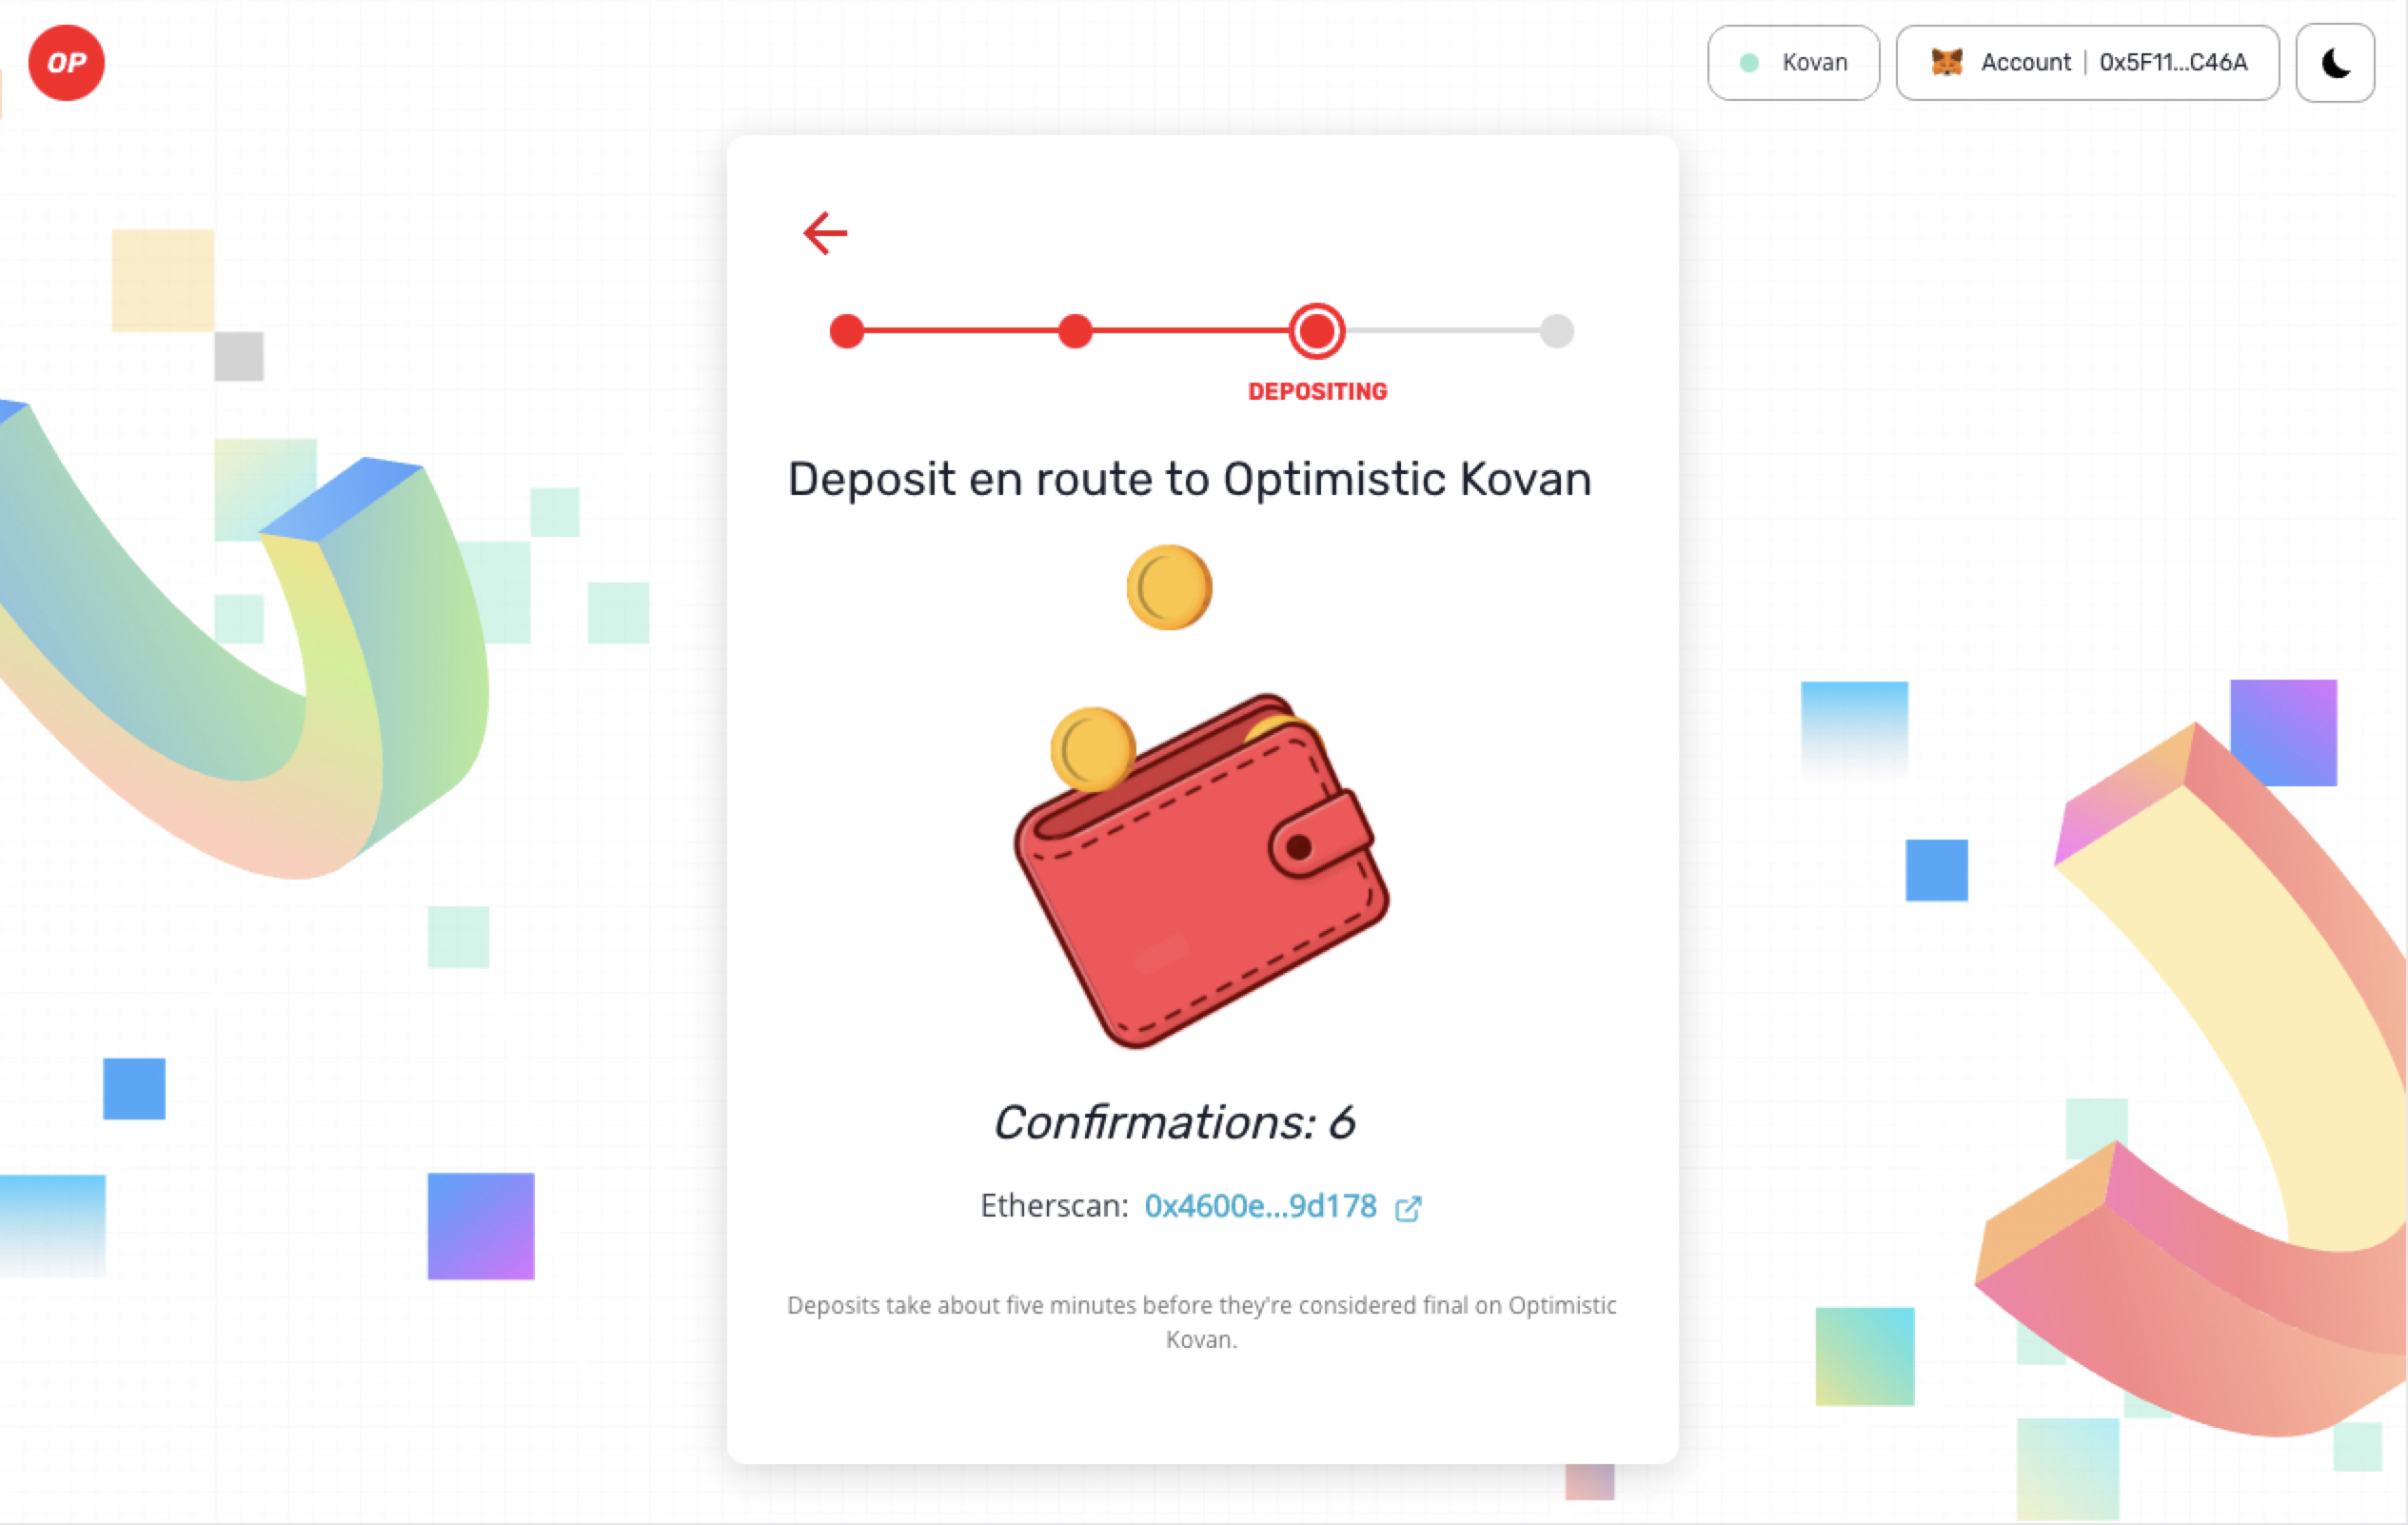
Once confirmed, you can monitor the transaction with the Etherscan address provided, as well as follow the number of confirmations shown processing. This can take up to ten minutes:
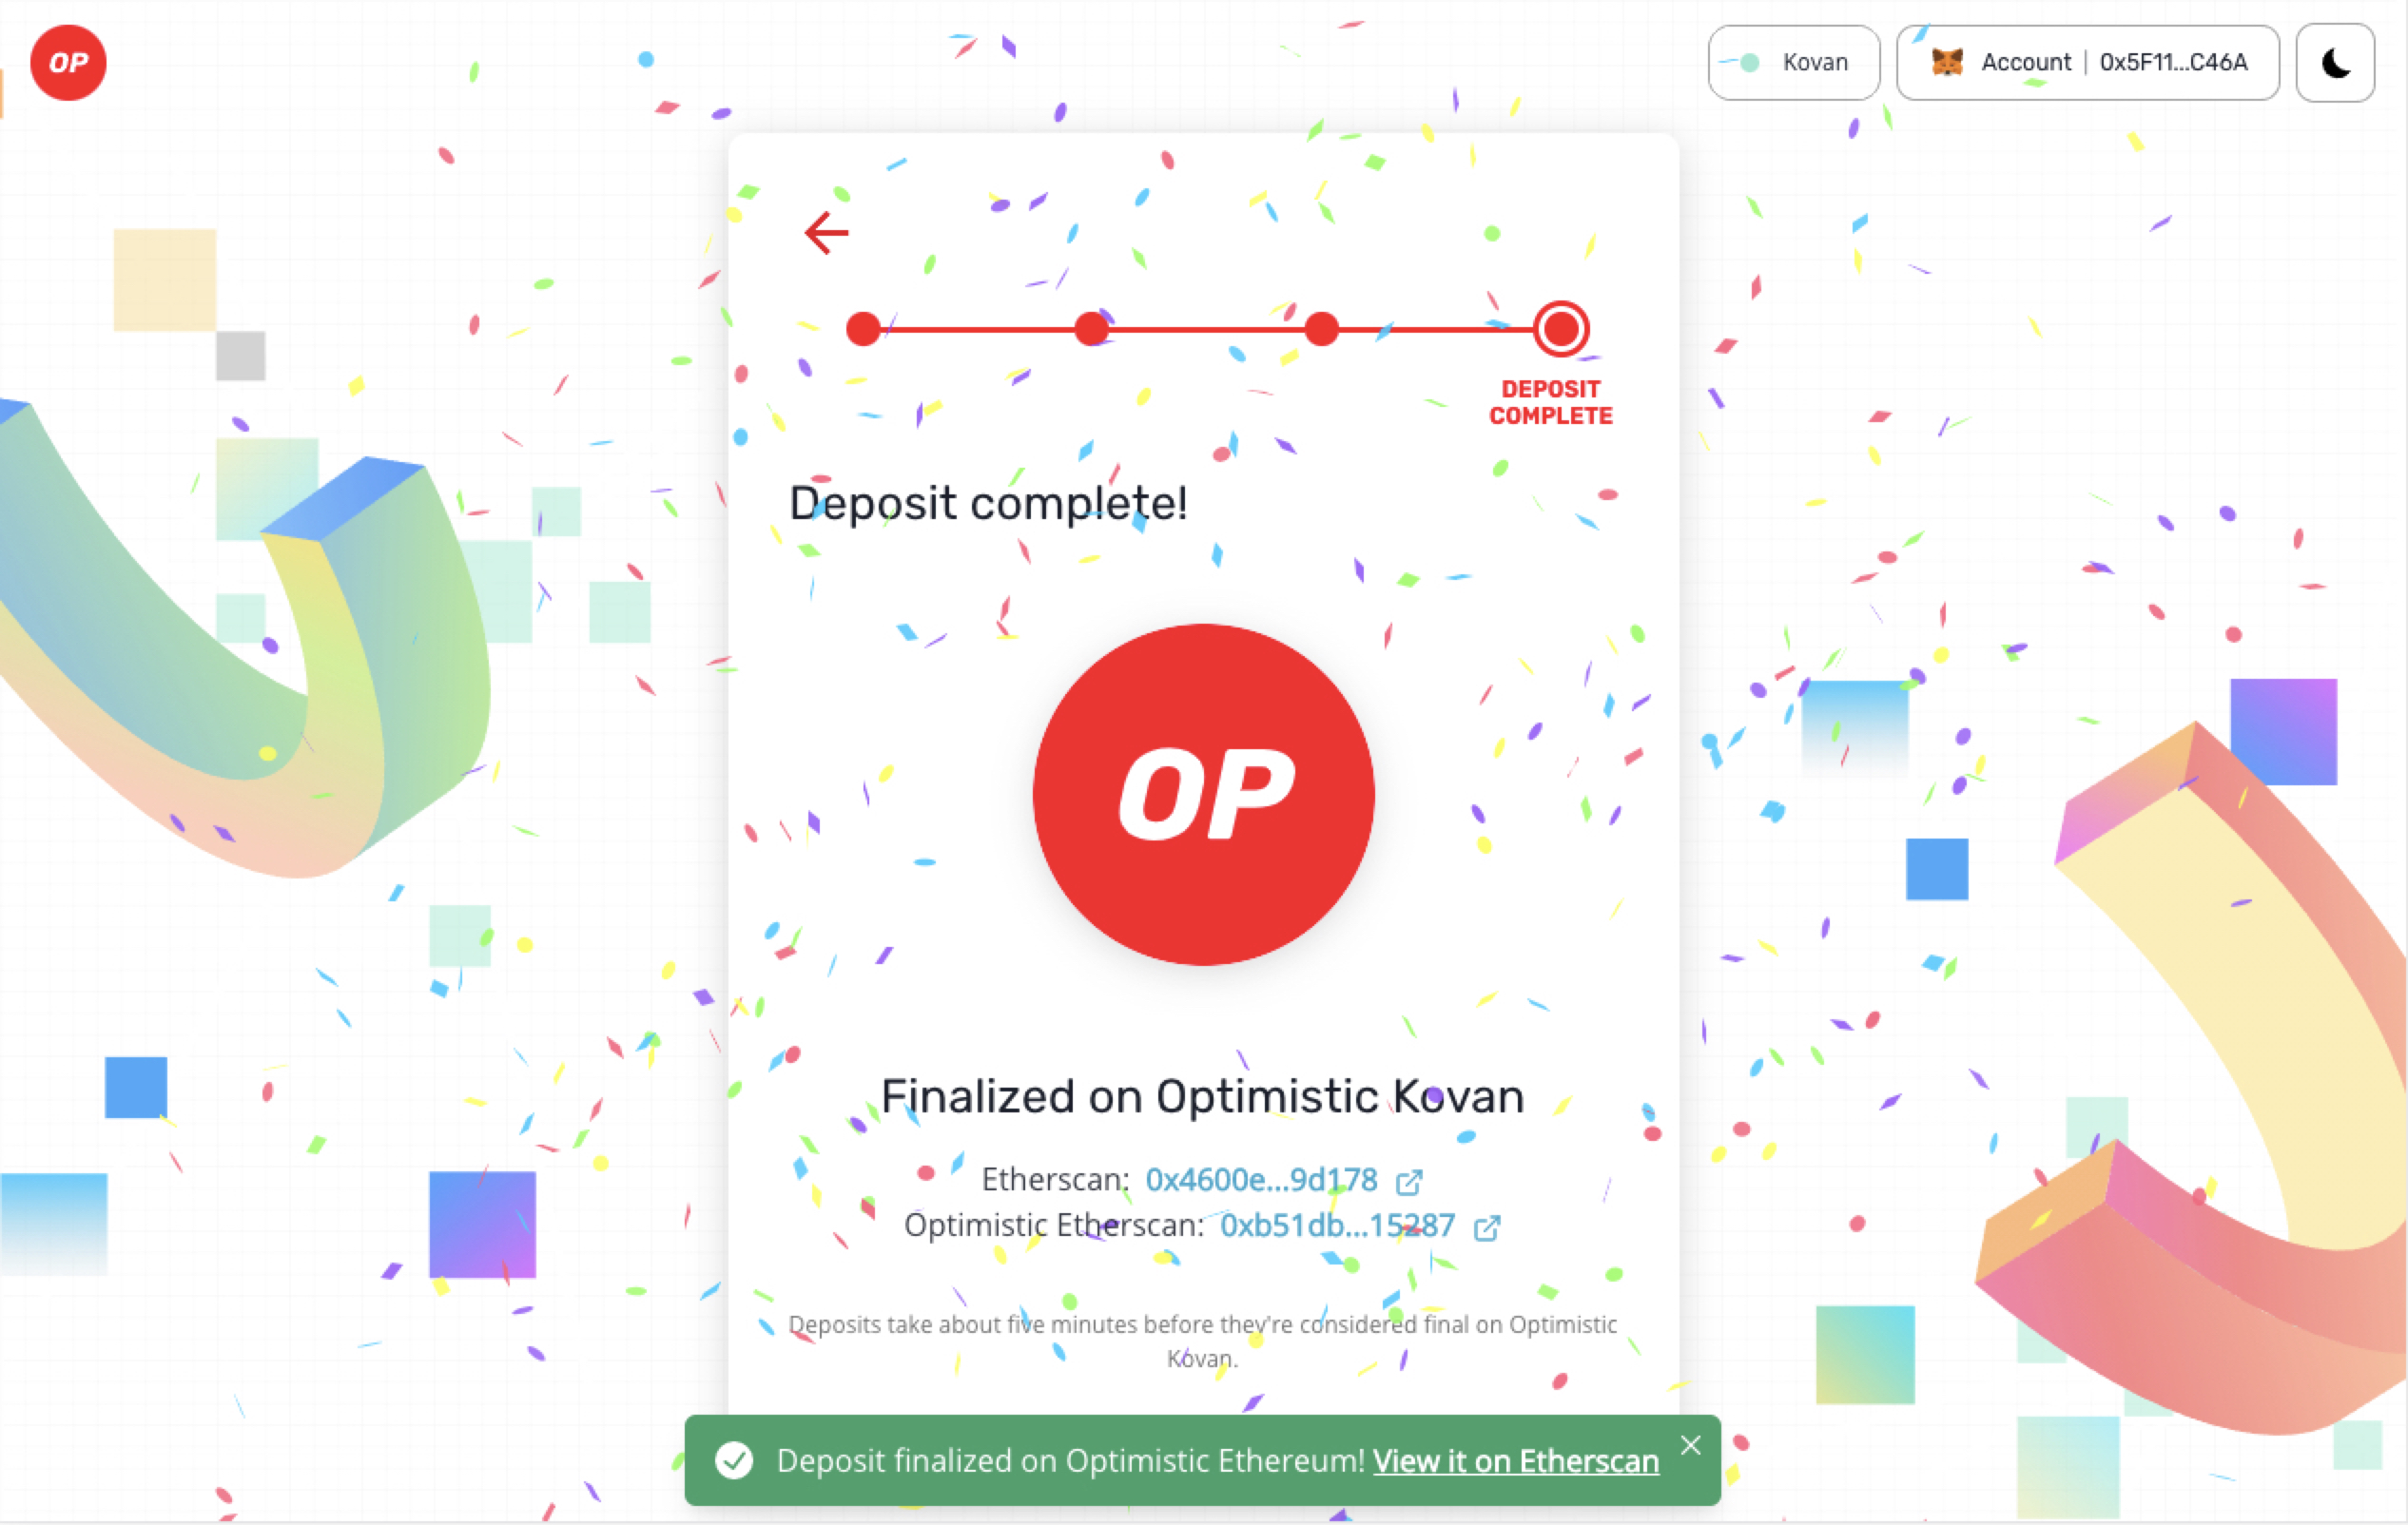
When the bridge is complete, you will see the funds on Optimism and you will have the option to withdraw:
But let’s keep going! And use the ETH we’ve bridged to trade (swap) on Uniswap, a decentralized protocol for trading crypto. Time to level up your DeFi trading game.
How to use Uniswap on Optimism
By now you’ve connected your MetaMask to the Optimistic Ethereum network and bridged over the asset of your choice - well done! The final step is to make a trade and see for yourself how fast and economical L2 networks can be. Follow along to use Uniswap on Optimism.
Head over to Uniswap here. If you’ve traded on Layer 1 Ethereum, you’ll notice the interface is almost exactly the same (but with lower gas fees).
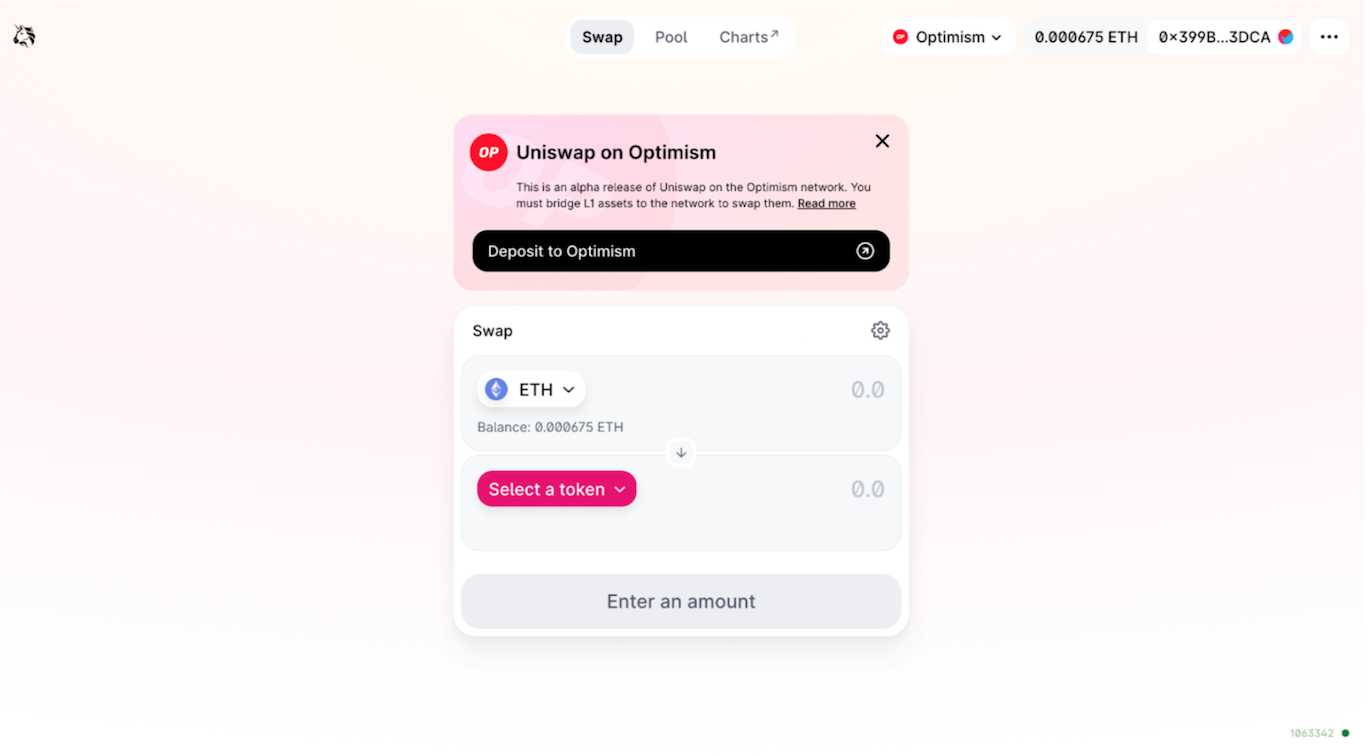
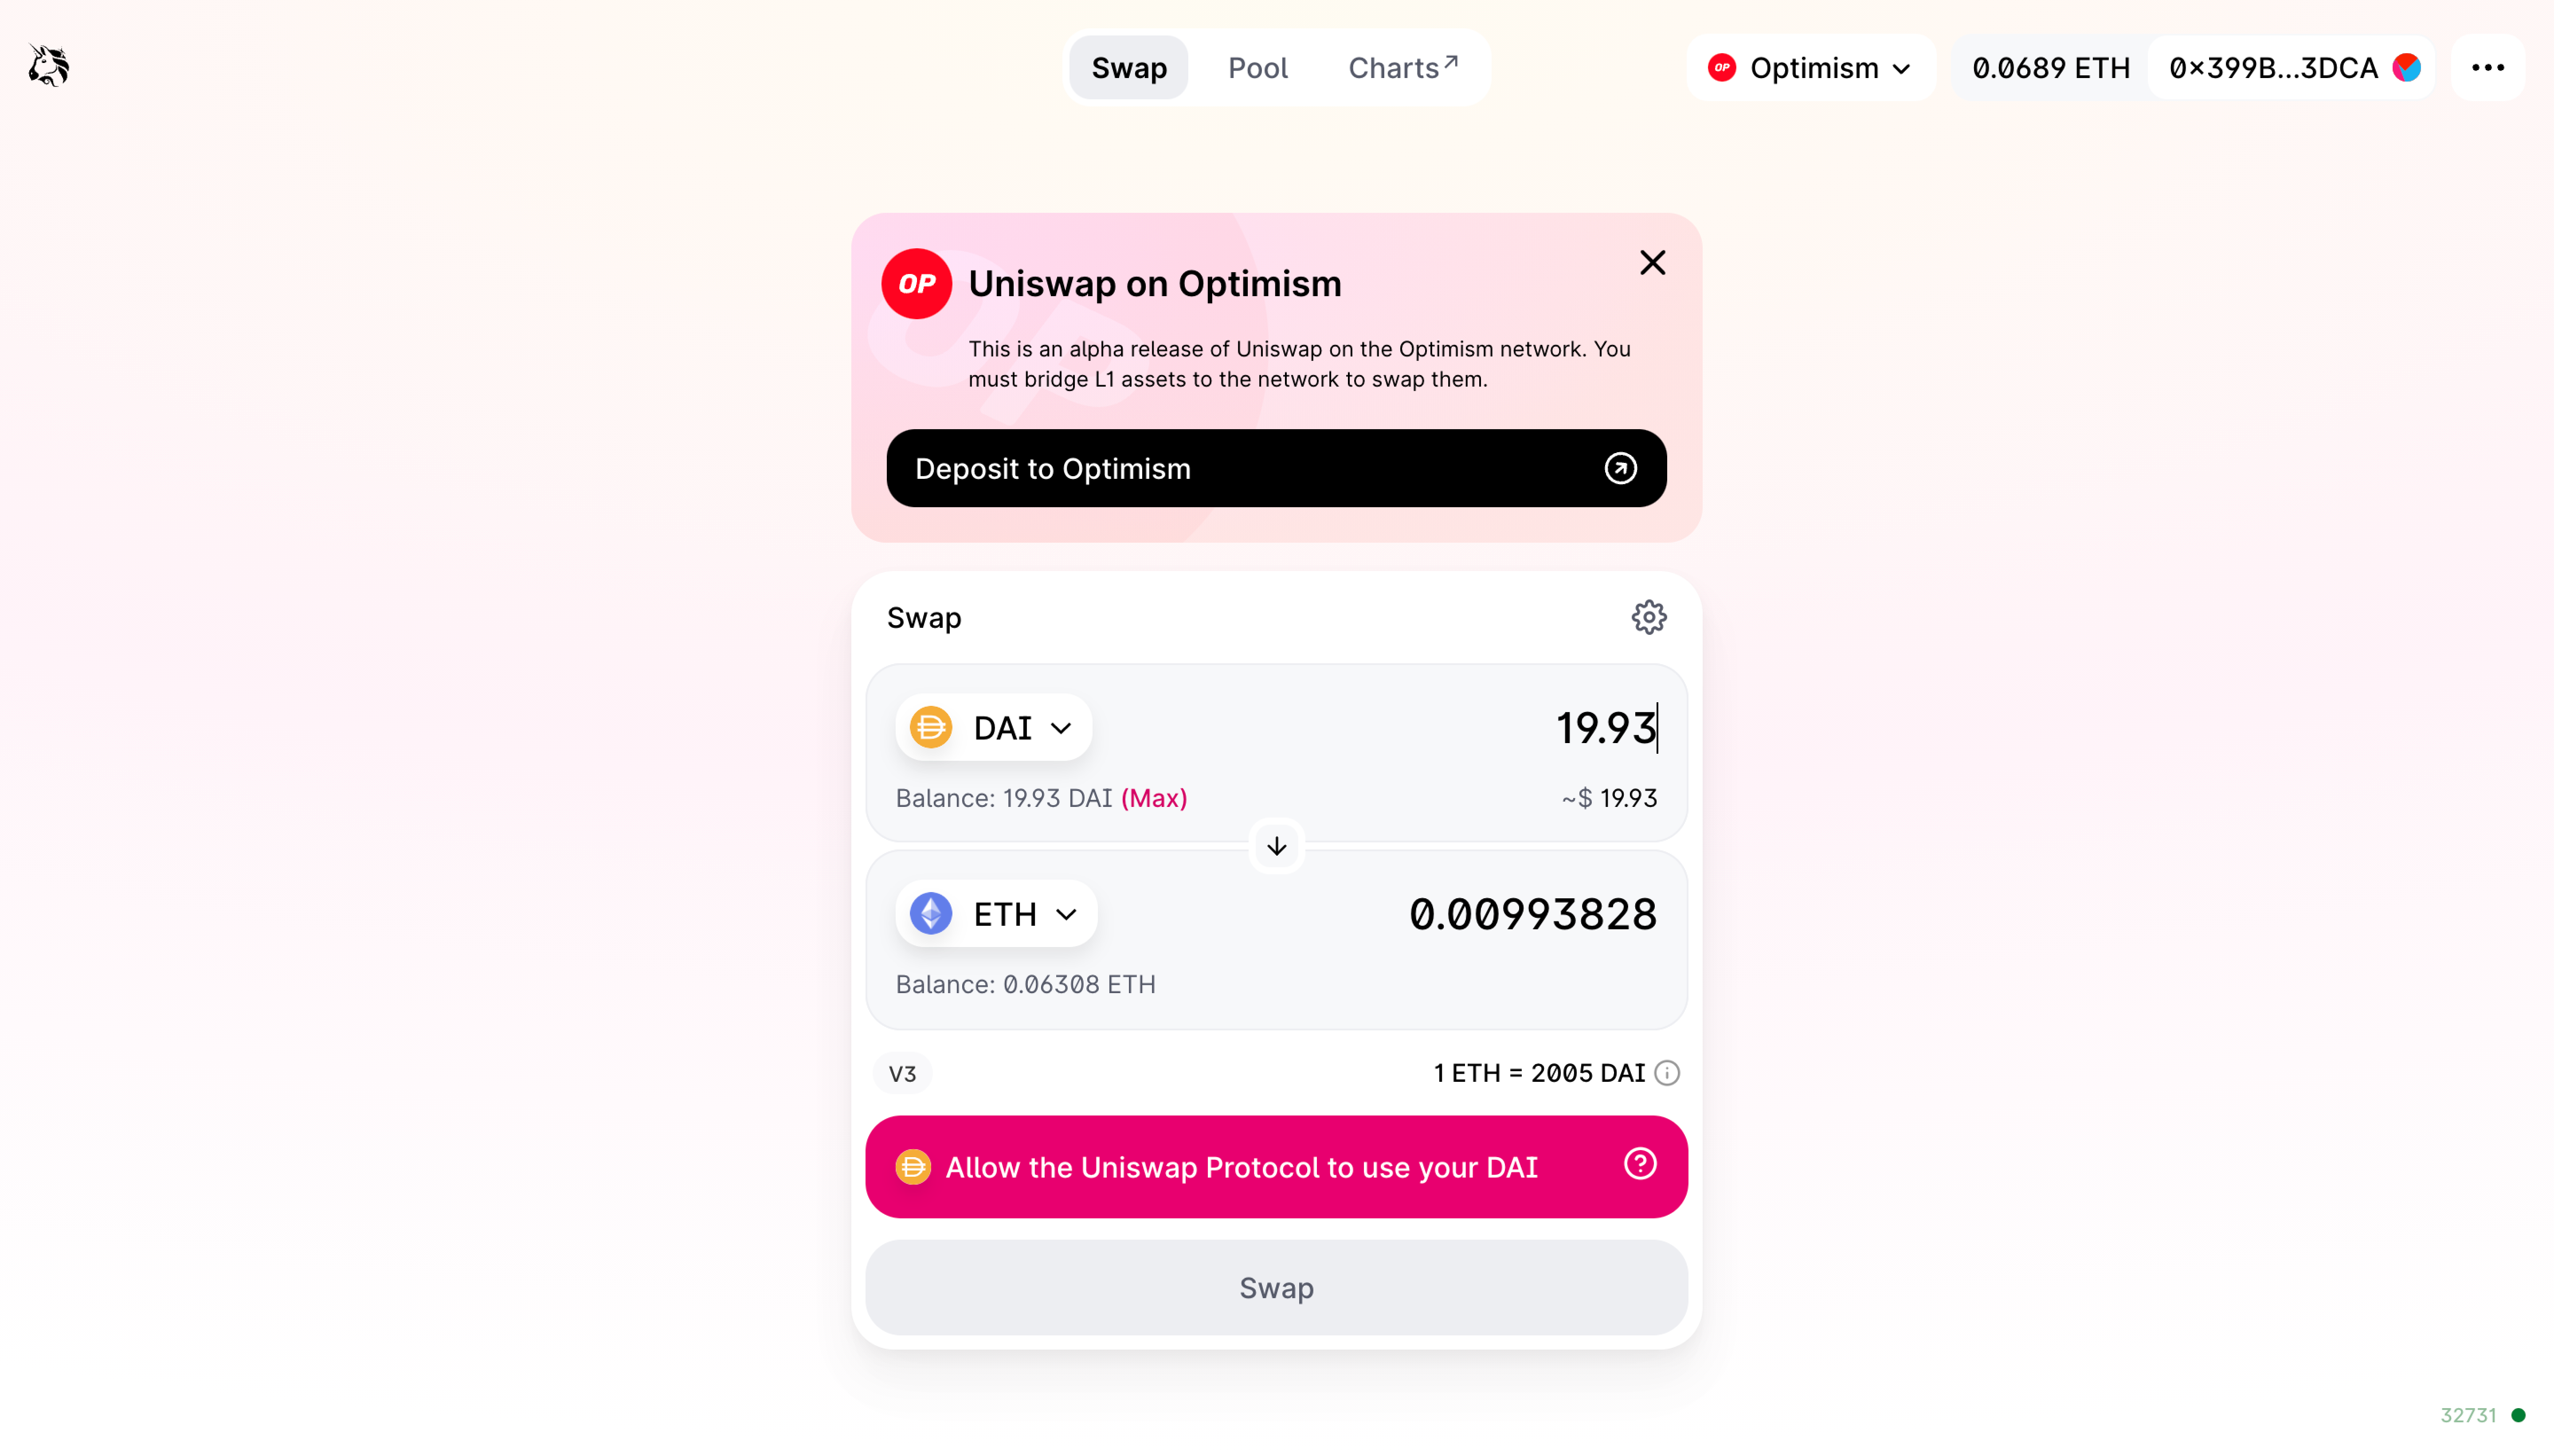
Select the asset you wish to trade.

Next, enter the amount. Note: if this is your first time using Uniswap, you’ll need to do a one-time approval of your assets by clicking the button entitled, “Allow the Uniswap Protocol to use your DAI,” to complete the trade.
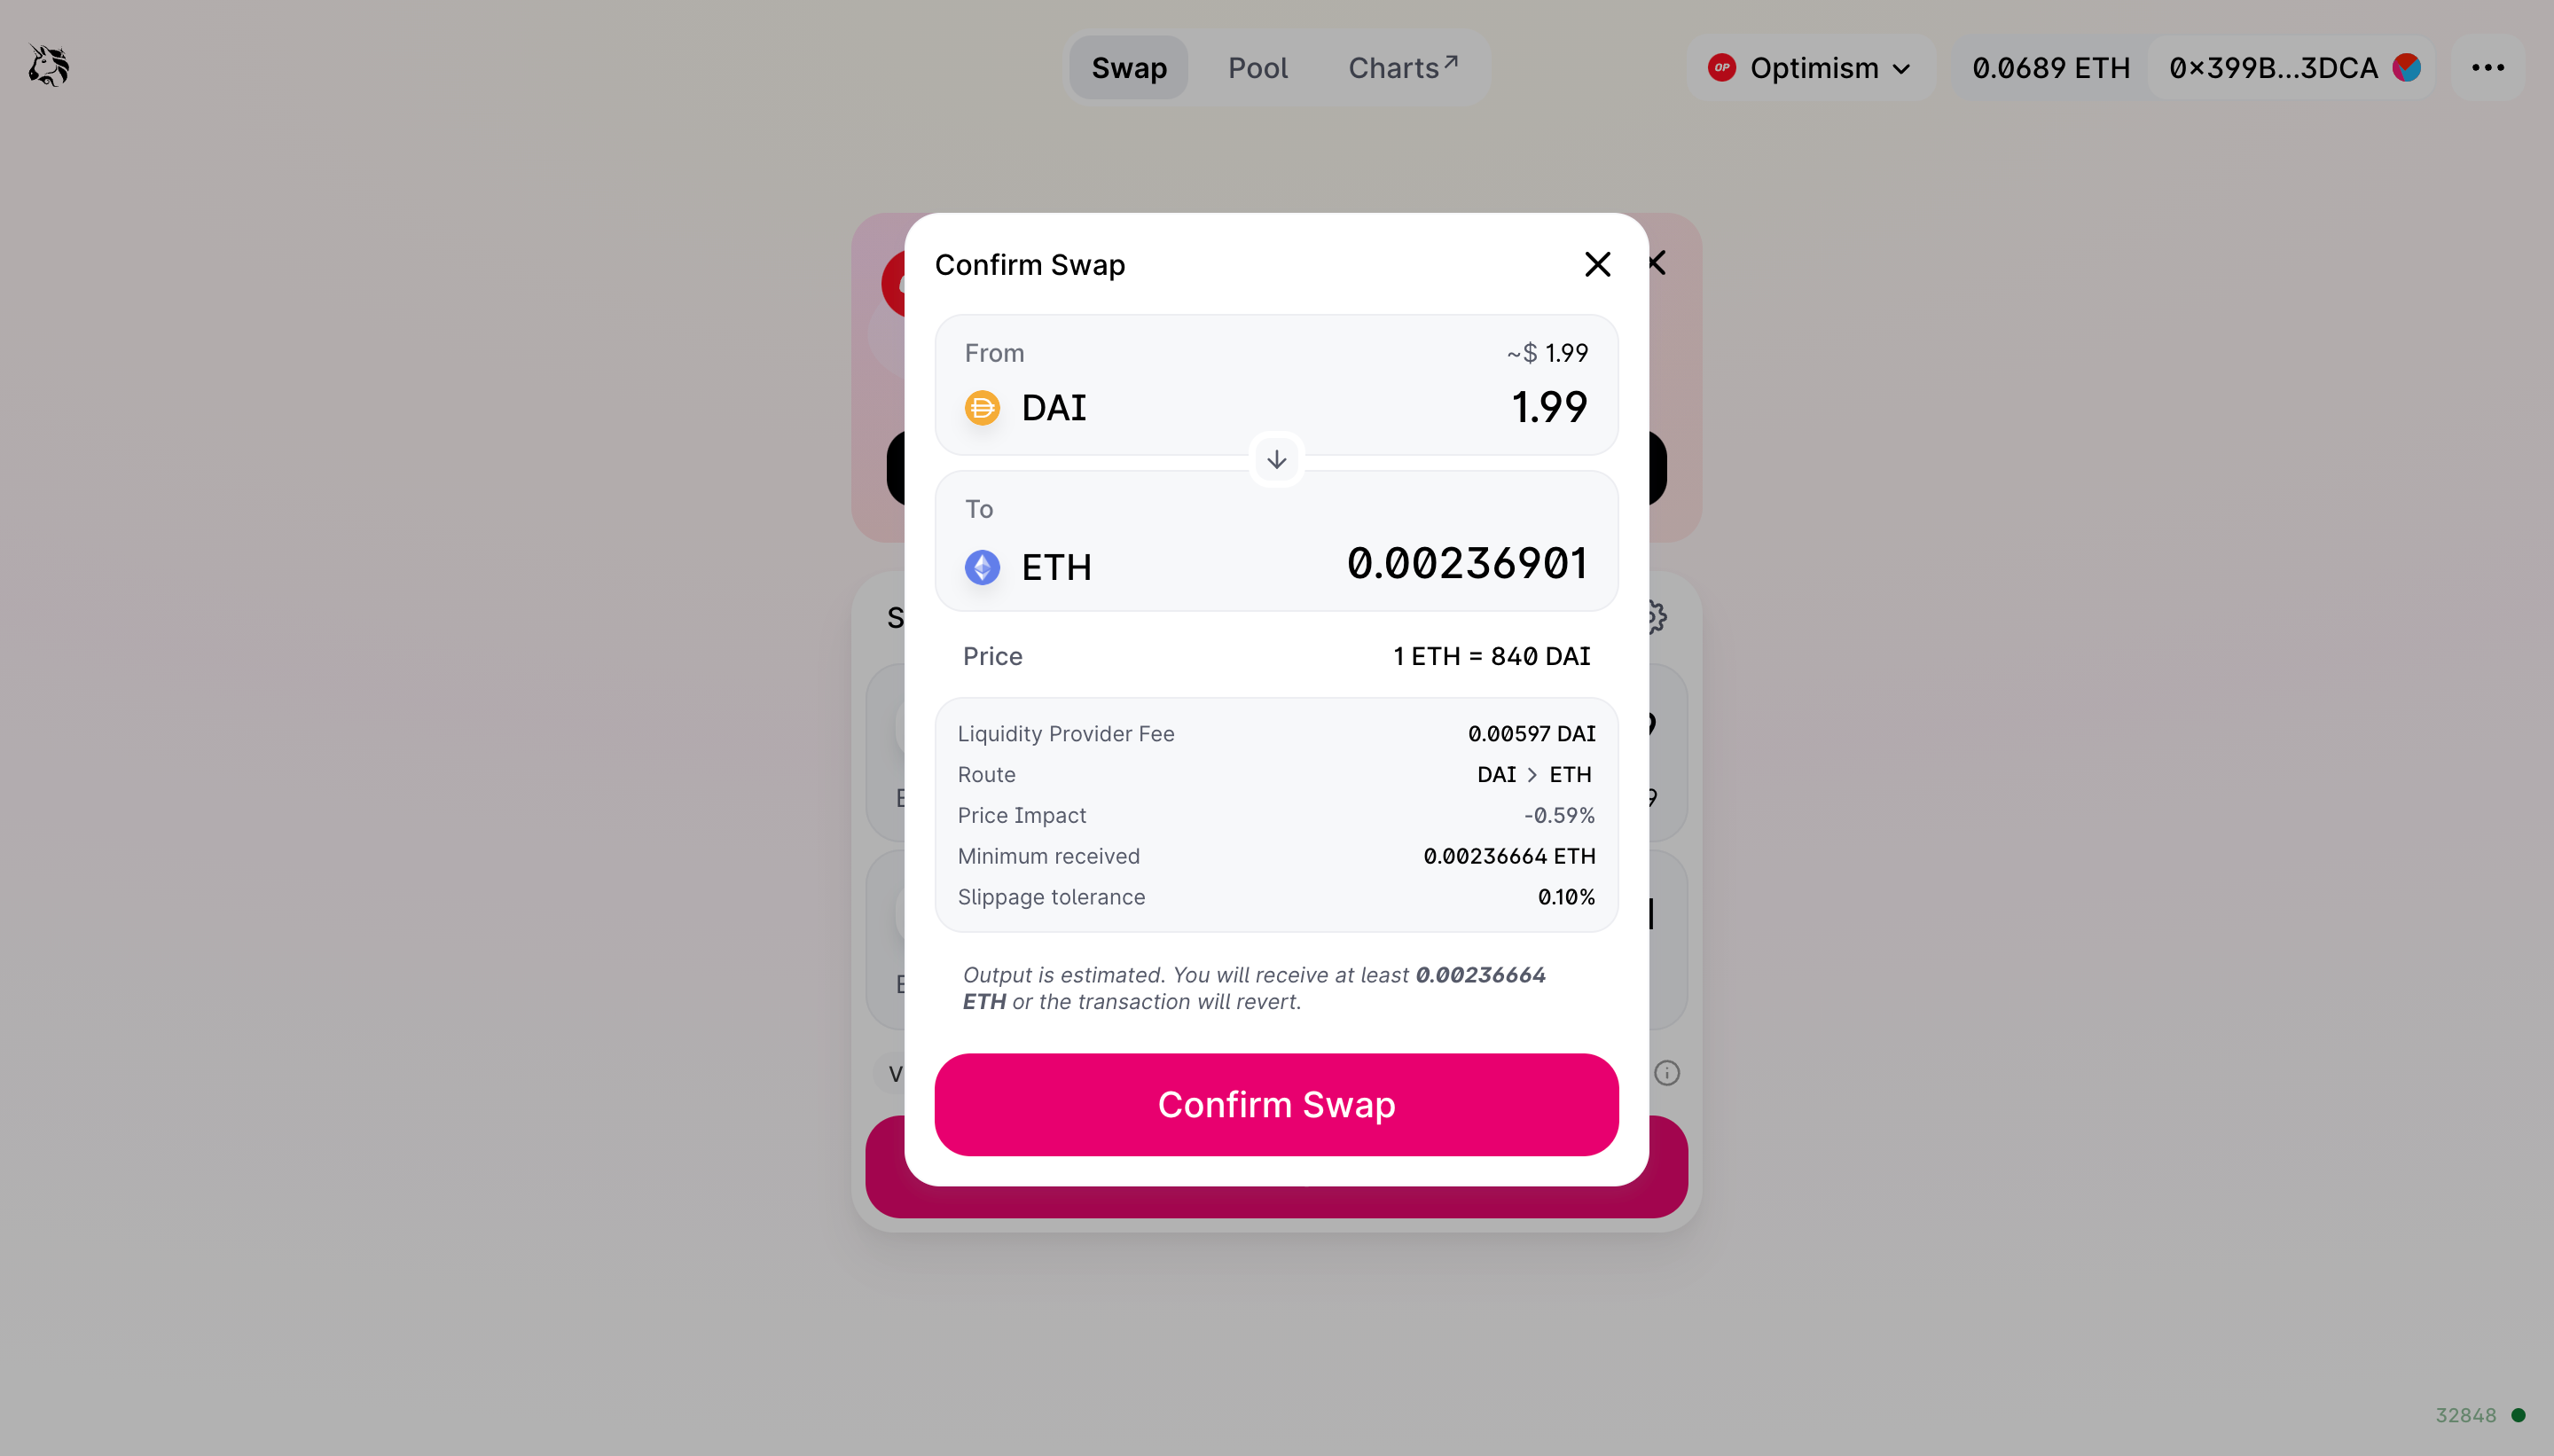
Press “Confirm Swap” and double-check the amount is correct.
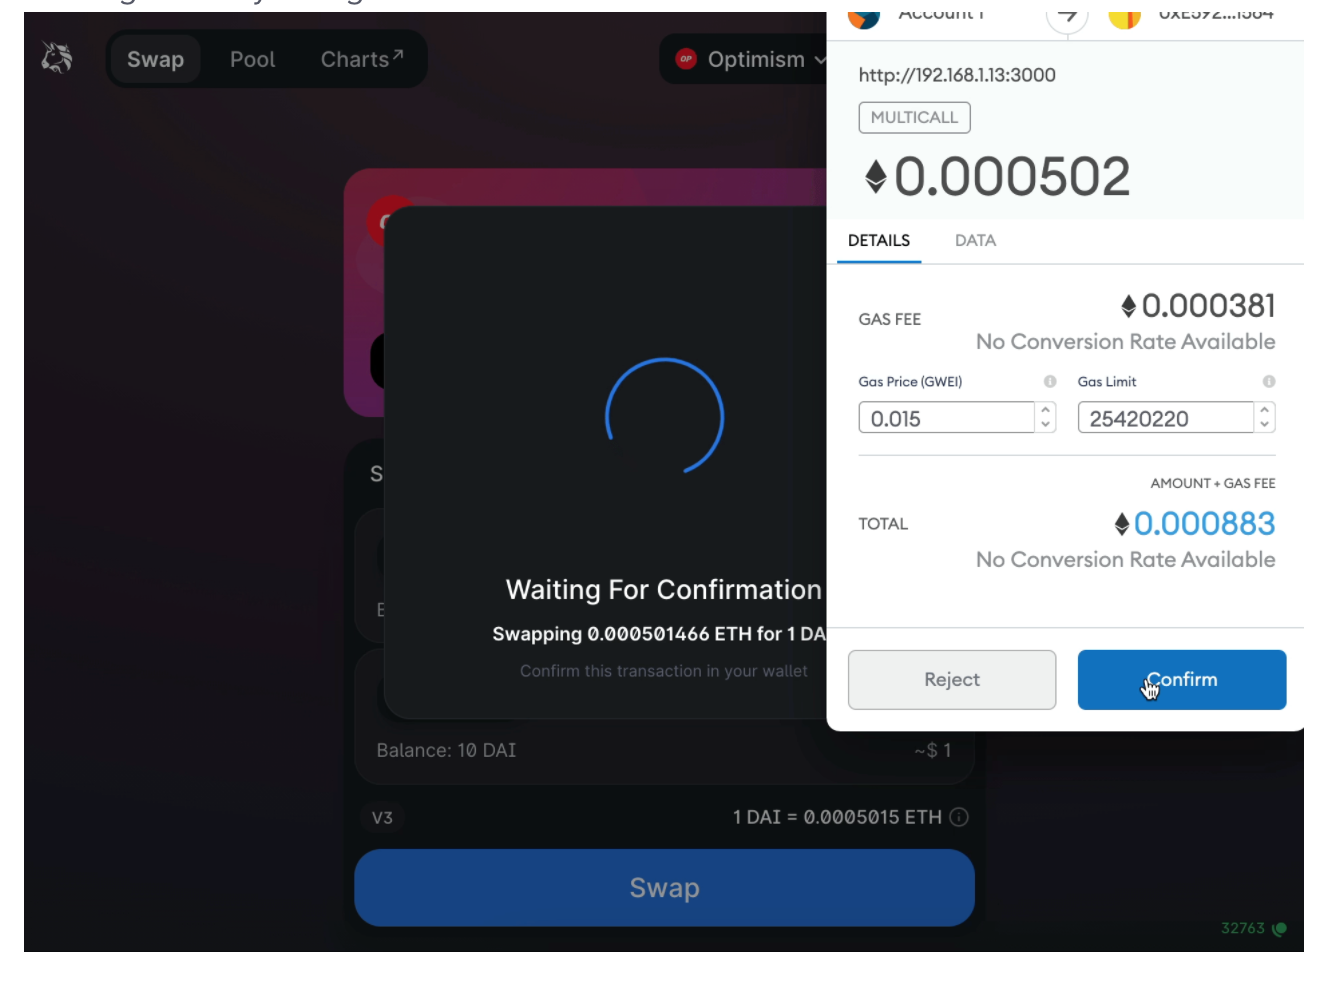
Once confirmed, you’ll see a MetaMask prompt to confirm. You can also view the details of your transaction at optimistic.etherscan.io.
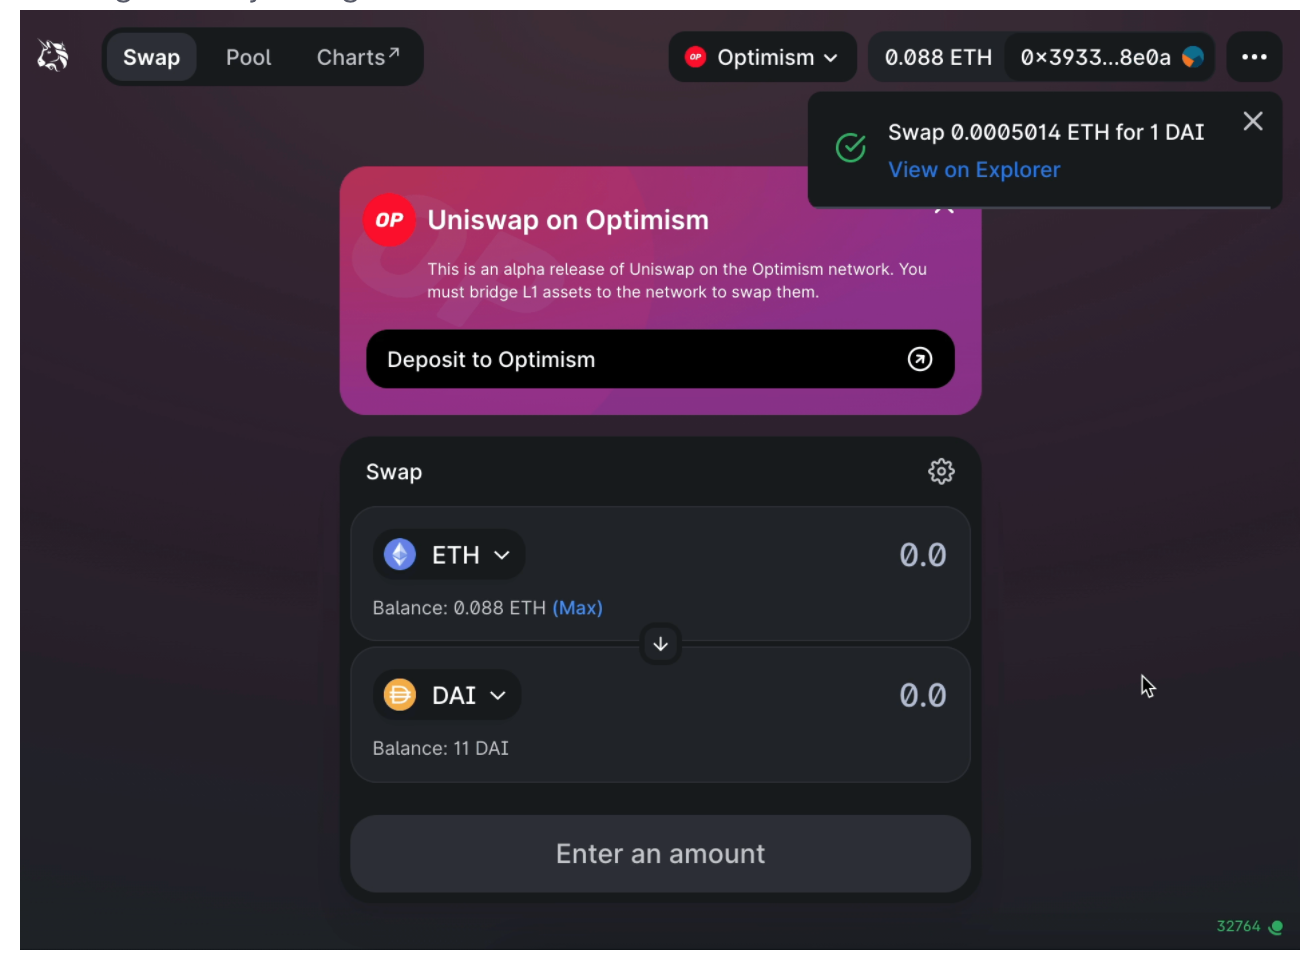
After a few minutes, the transaction will show as completed in the top right corner:
Final thoughts
Gas fees shouldn’t prevent anyone from using DeFi or accessing Web3. Solutions like Optimism are making Web3 scalable and more performant. Now that you know how to bridge assets, keep exploring Web3 with your MetaMask!