Start here. Build anything.
A complete suite of products to create and participate in web3
MetaMask
MetaMask is the leading self-custodial wallet for over 100 million users annually. MetaMask is everything you need to manage your identity, digital assets and to explore web3. Available as a browser extension and mobile app.
MetaMask Users
1 0 0 M
CONNECTED DAPPS
1 7 k+
MetaMask Developer
Start building today with MetaMask developer tools: connect your app to MetaMask with our SDK, test new features in Flask, and extend MetaMask core functionality with Snaps.
MetaMask Users
1 0 0 M
Daily Transactions
2 4 4 k
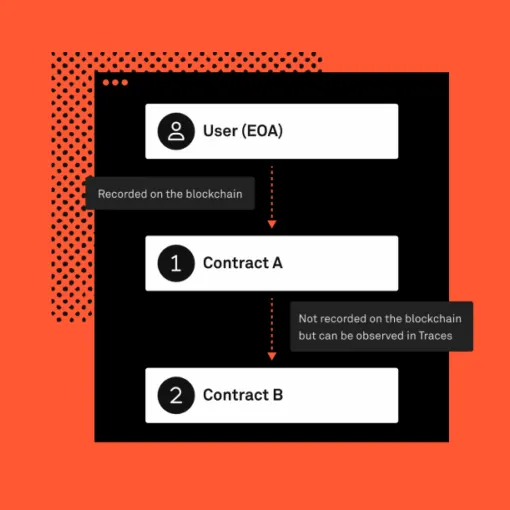
Infura
Infura is the original platform for web3 development, giving developers access to a robust, reliable, and integrated set of tools to easily build and scale their decentralized applications.
Requests Served Per Year
2 T
Number of Developers
4 0 0 k
Linea
Linea is an EVM equivalent zkEVM rollup offering fast finality, high throughput, low gas fees and the security of Ethereum settlement. Projects across web3 are building with Linea to unlock new capabilities without compromising the security and developer experience of L1 Ethereum.
Cheaper vs L1 Ethereum
2 0 x
Unique Wallets (And Counting)
4 6 M
For Everyone

For the Ecosystem
Linea
A developer-ready zkEVM rollup L2 network to scale Ethereum
Besu
An open source Ethereum client developed under the Apache 2.0 license and written in Java. It runs on public and private networks
Teku
Teku is the Ethereum 2.0 client empowering businesses to stake on the next evolution of the Ethereum network.

Consensys Staking
Secure the Ethereum network and earn rewards for staking ETH. We make staking secure, reliable, and accessible.
Recent Projects
Together, we can build the future we want to see.
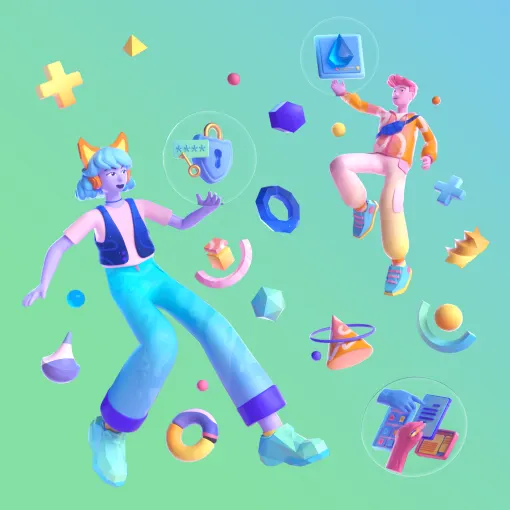
Our applications, tools, and infrastructure make web3 easy to use and build on. But the future won’t be made by us: it will be made by you, and a growing global community. Great things are being made, and this is just the beginning.

1 — 2
Our applications, tools, and infrastructure make web3 easy to use and build on. But the future won’t be made by us: it will be made by you, and a growing global community. Great things are being made, and this is just the beginning.
Consensys is the leading blockchain and web3 software company. Since 2014, Consensys has been at the forefront of innovation, pioneering technological developments within the web3 ecosystem. Through our product suite, including the MetaMask platform, Infura, Linea, Diligence, and our NFT platform, we have become a trusted collaborator for users, creators, and developers. Whether building a dapp, an NFT collection, a portfolio, or a better future, the instinct to build is universal. Our mission is to inspire and empower the builder in everyone by making web3 universally easy to use and develop on. Let’s build the world we want to see.
About consensys
The drive to build is in all of us; the determination to make things better.

Learn More
The State of NFTs: A Conscientious Comeback
April 12, 2024
Linea
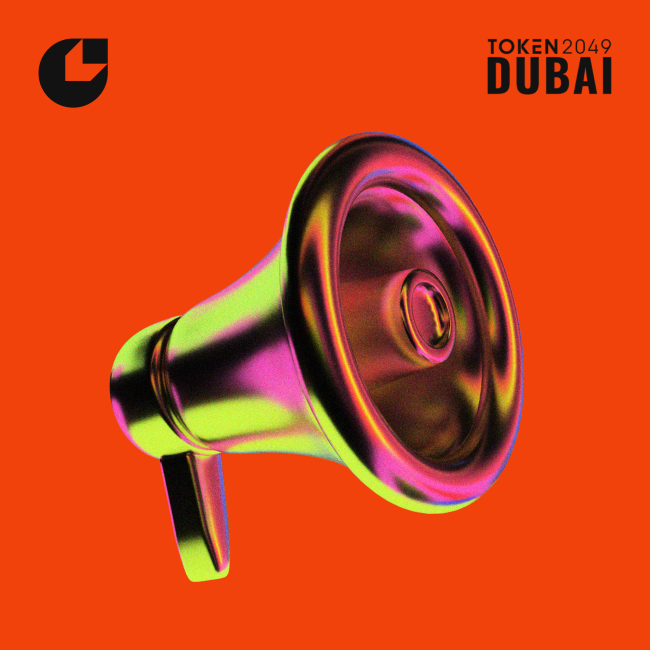
See You at Token 2049, Arts DAO Fest, and Builders Days and Nights in Dubai
April 8, 2024
Learn More
Our comment letter to the SEC on ETH ETF approval: “We urge the Commission to recognize the advanced safeguards inherent in Ethereum’s design”
March 29, 2024
Learn More
What the Dencun Fork Means for Ethereum Scalability
March 13, 2024
Learn More
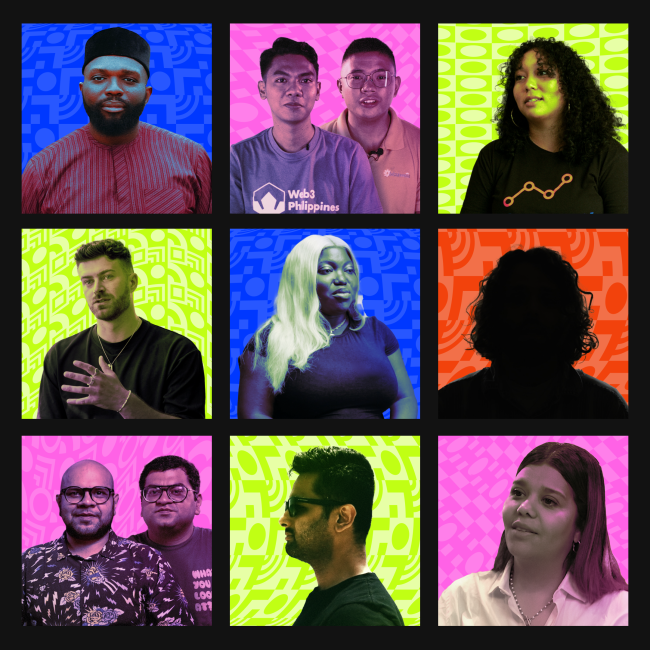
The Essence of Web3 is its People: Meet the Builder Stories Series
March 6, 2024
MetaMask
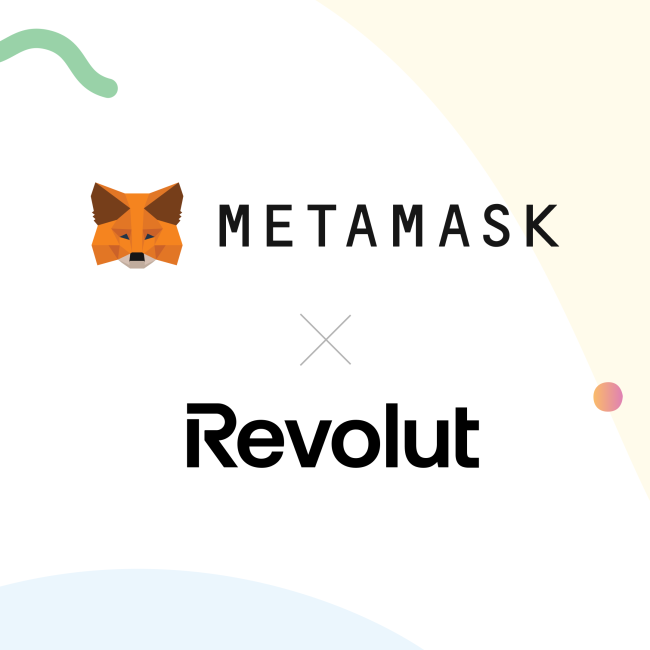
Revolut enables crypto purchase directly into MetaMask wallets, with Revolut Ramp
March 6, 2024
Learn More
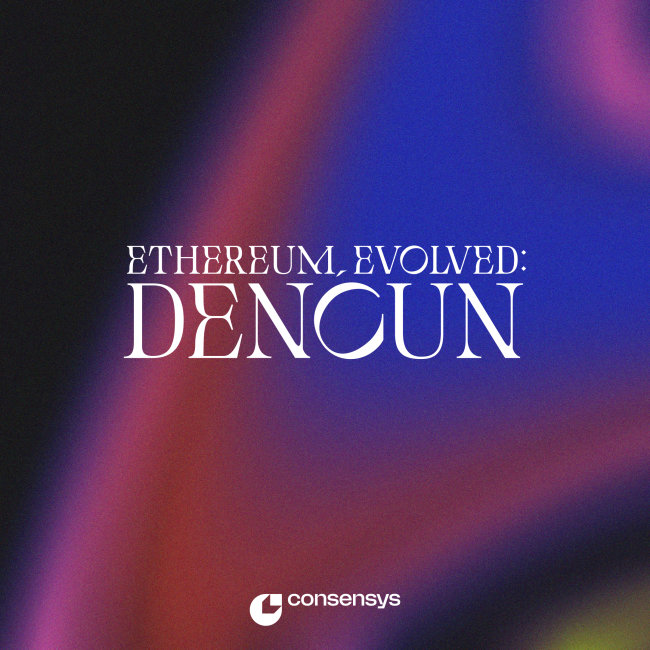
Consensys Celebrates the Dencun Upgrade with a Third Ethereum, Evolved NFT Collection
February 27, 2024
MetaMask
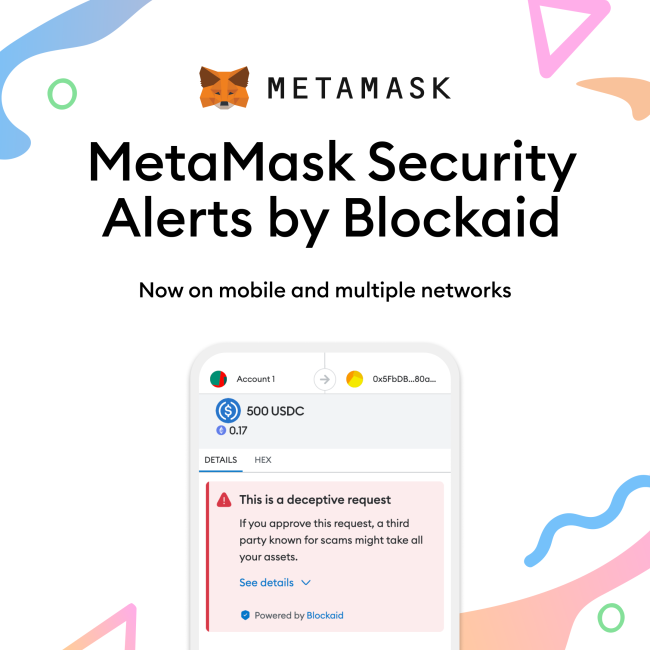
MetaMask Reveals 55% Surge in Users, Introduces Default Security Alerts to Drive Wider Adoption And Prevent Billions Lost to Fraud
February 20, 2024
Linea
Linea Upgrade Drops Gas Fees by 66%, Reveals Ambitious Security Approach
February 15, 2024
Learn More
Come BUIDL with Linea, MetaMask, and Phosphor at ETHDenver 2024
February 13, 2024
Newsletters